Introduction
Testing SES locally can be challenging, especially when replicating the cloud infrastructure for sending and receiving emails. New AWS accounts often face SES Sandbox restrictions, where you must request production access to send real emails, slowing down the development process. Other SES simulators or mocks often face issues like API incompatibility, missing parity tests to compare with real AWS behavior or lack of certain features. A better alternative for testing SES workflows is LocalStack, which emulates AWS services and makes cloud development and testing a breeze!
LocalStack’s SES emulation lets you test SES workflows alongside other AWS services like Lambda or ECS, allowing you to fully test and debug without using the real AWS cloud or cluttering your test account with unwanted emails. You can also set up an SMTP server and configure variables to send emails. Additionally, LocalStack’s internal developer endpoints let you track all sent emails for review, saving them as JSON for debugging and analysis.
In this blog, we’ll explore how to build and test a complete Email Feedback Delivery system using SES and SSM Parameter Store, with a frontend served by an S3 website to submit feedback. We’ll also show you how to automate SES testing with Jest and inspect sent emails using the MailHog extension, ensuring all parts of your system work smoothly together.
Table of Contents
Email Feedback Delivery with Lambda, SES, S3, and SSM
This demo creates a feedback survey form for users to submit feedback. When new feedback is submitted, a Lambda function is triggered to generate an email and send it through SES. The frontend is deployed using S3 for hosting static assets, and SSM is used for managing secrets like sender and recipient email addresses. The application is developed and tested locally with LocalStack, so no real AWS credentials or SMTP details are needed.
This architecture shows the components we will deploy in this tutorial:

Prerequisites
localstackCLI with LocalStack Auth Token- AWS CLI &
awslocalwrapper - Node.js &
npm - Docker
- LocalStack Web Application account
zip&curl
To test email delivery, we’ll use MailHog, an open-source email testing tool with a simple SMTP server and web interface. LocalStack offers a MailHog extension to simplify SES testing locally. We’ll start by installing the MailHog extension.
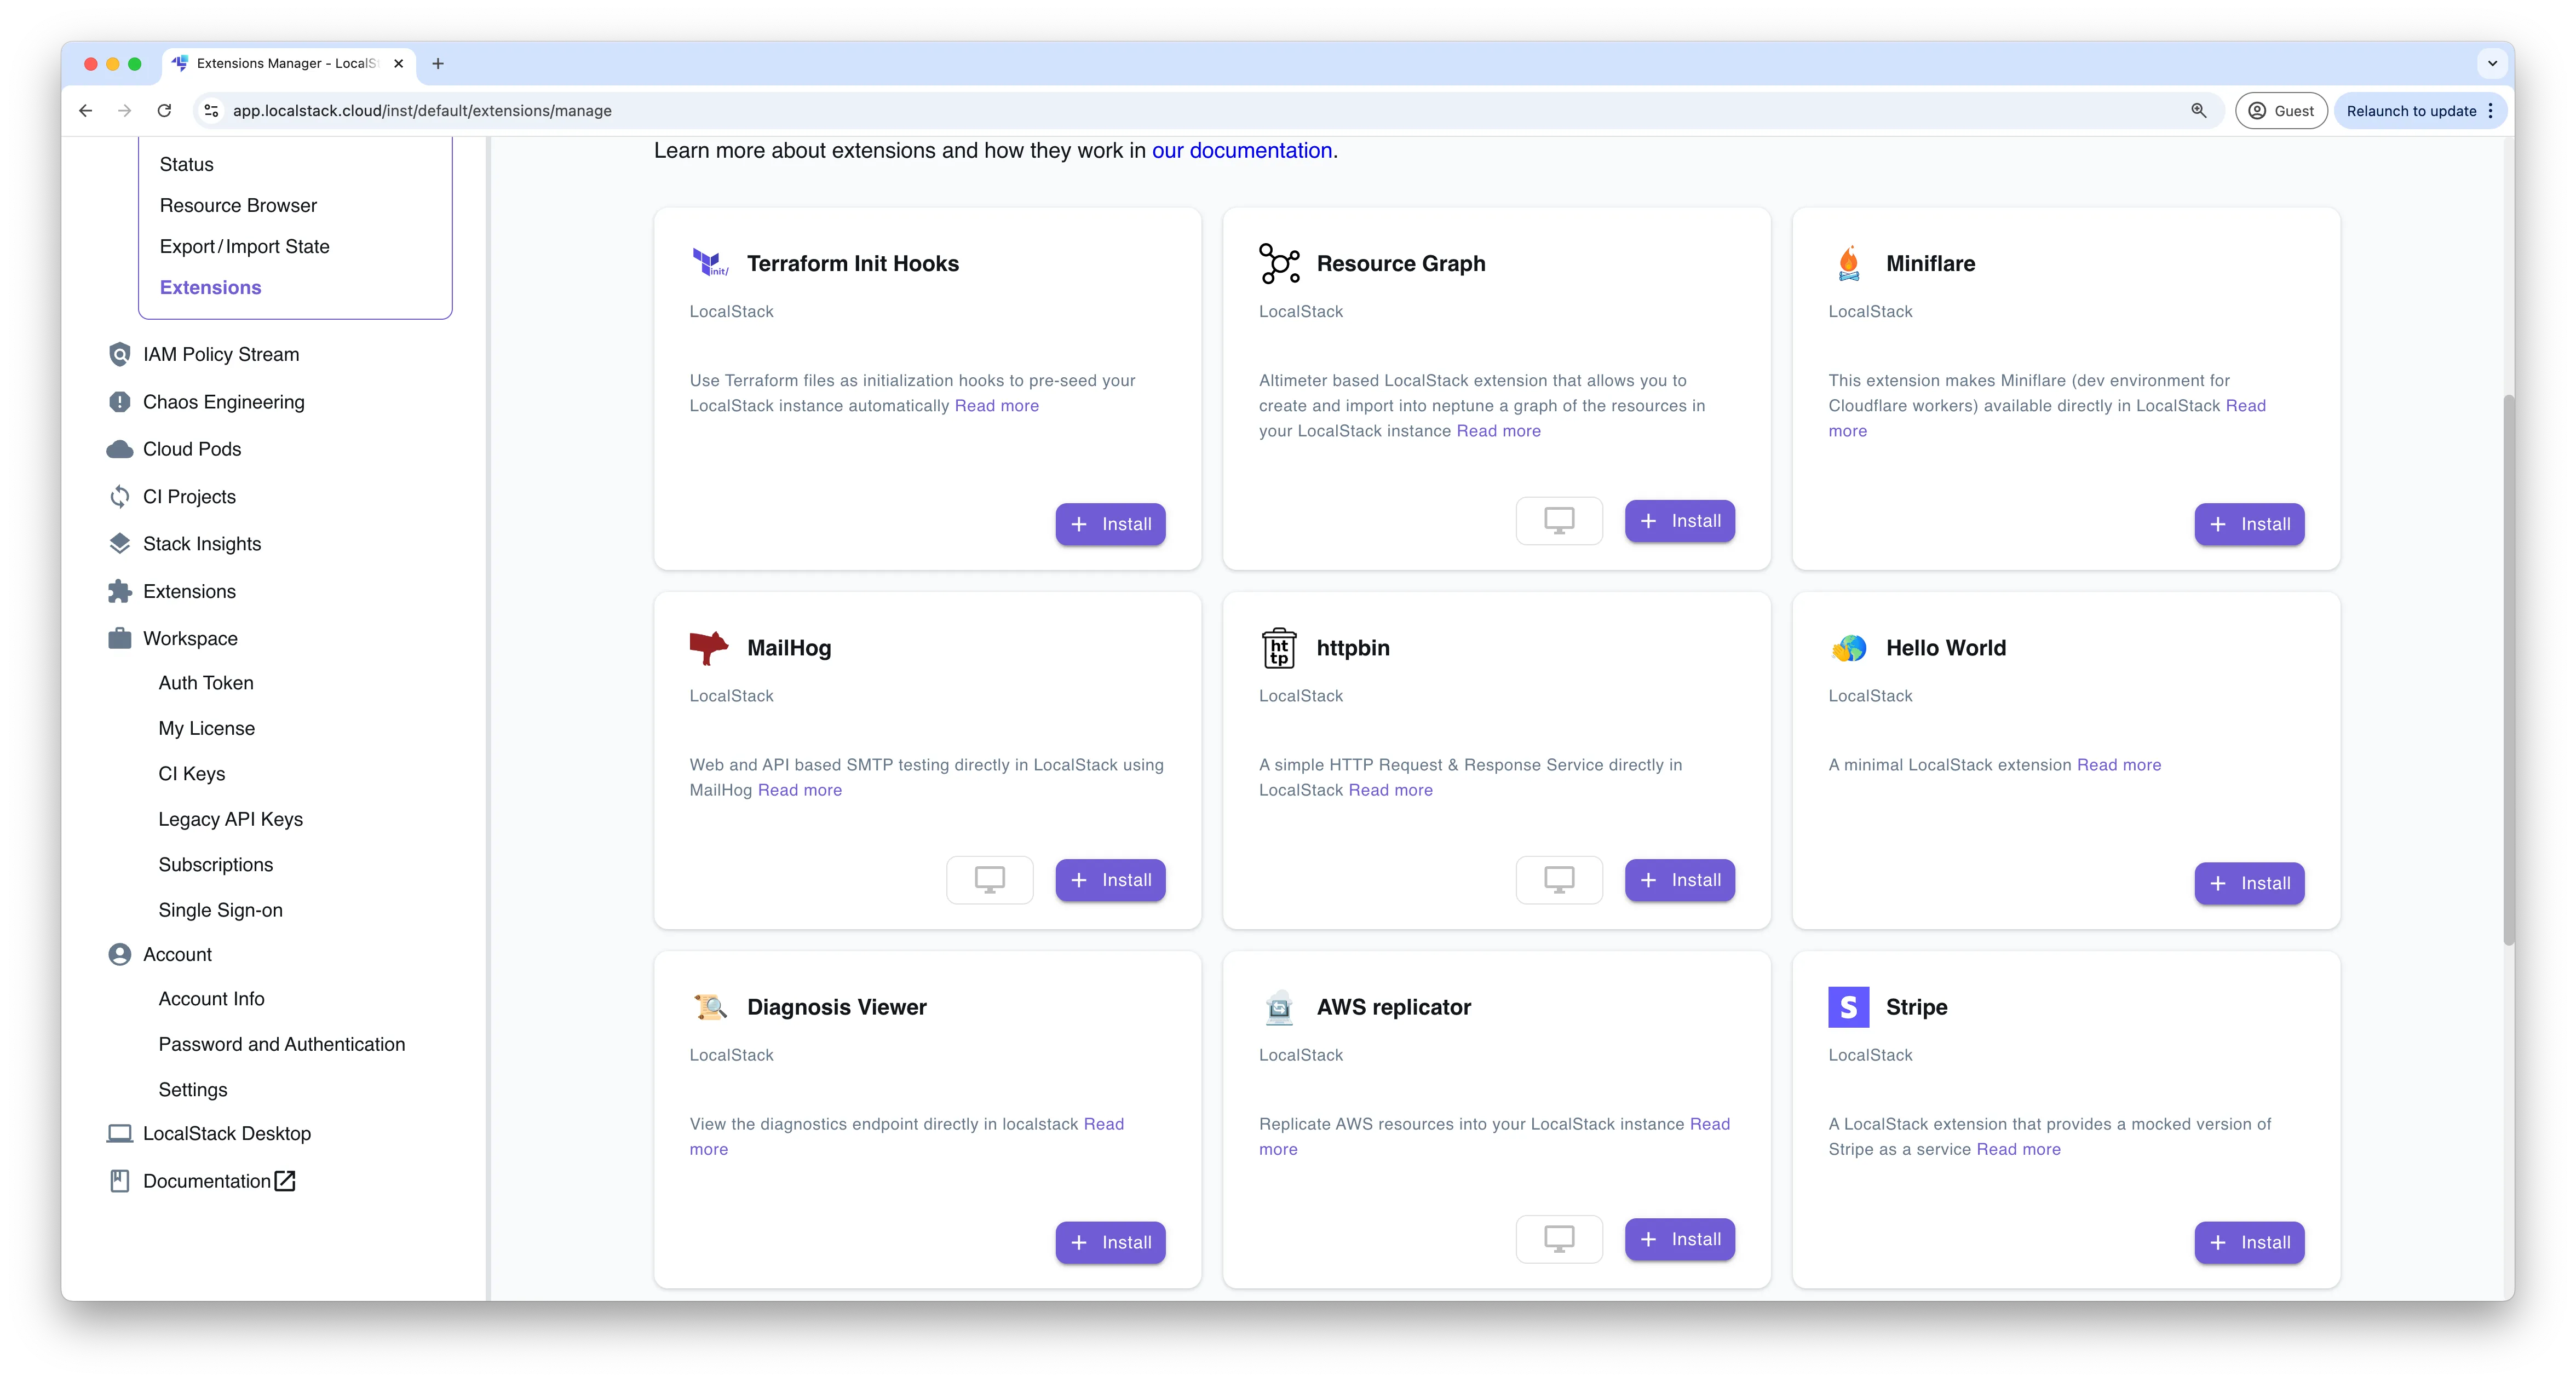
Install the MailHog extension
To install the MailHog extension, start your LocalStack container with your LOCALSTACK_AUTH_TOKEN:
export LOCALSTACK_AUTH_TOKEN=...localstack startThen, go to the Extensions manager and click + Install for the MailHog extension. After confirming, the LocalStack container will restart, and the extension will be accessible.
Check the LocalStack logs for MailHog extension output, where you should see logs like:
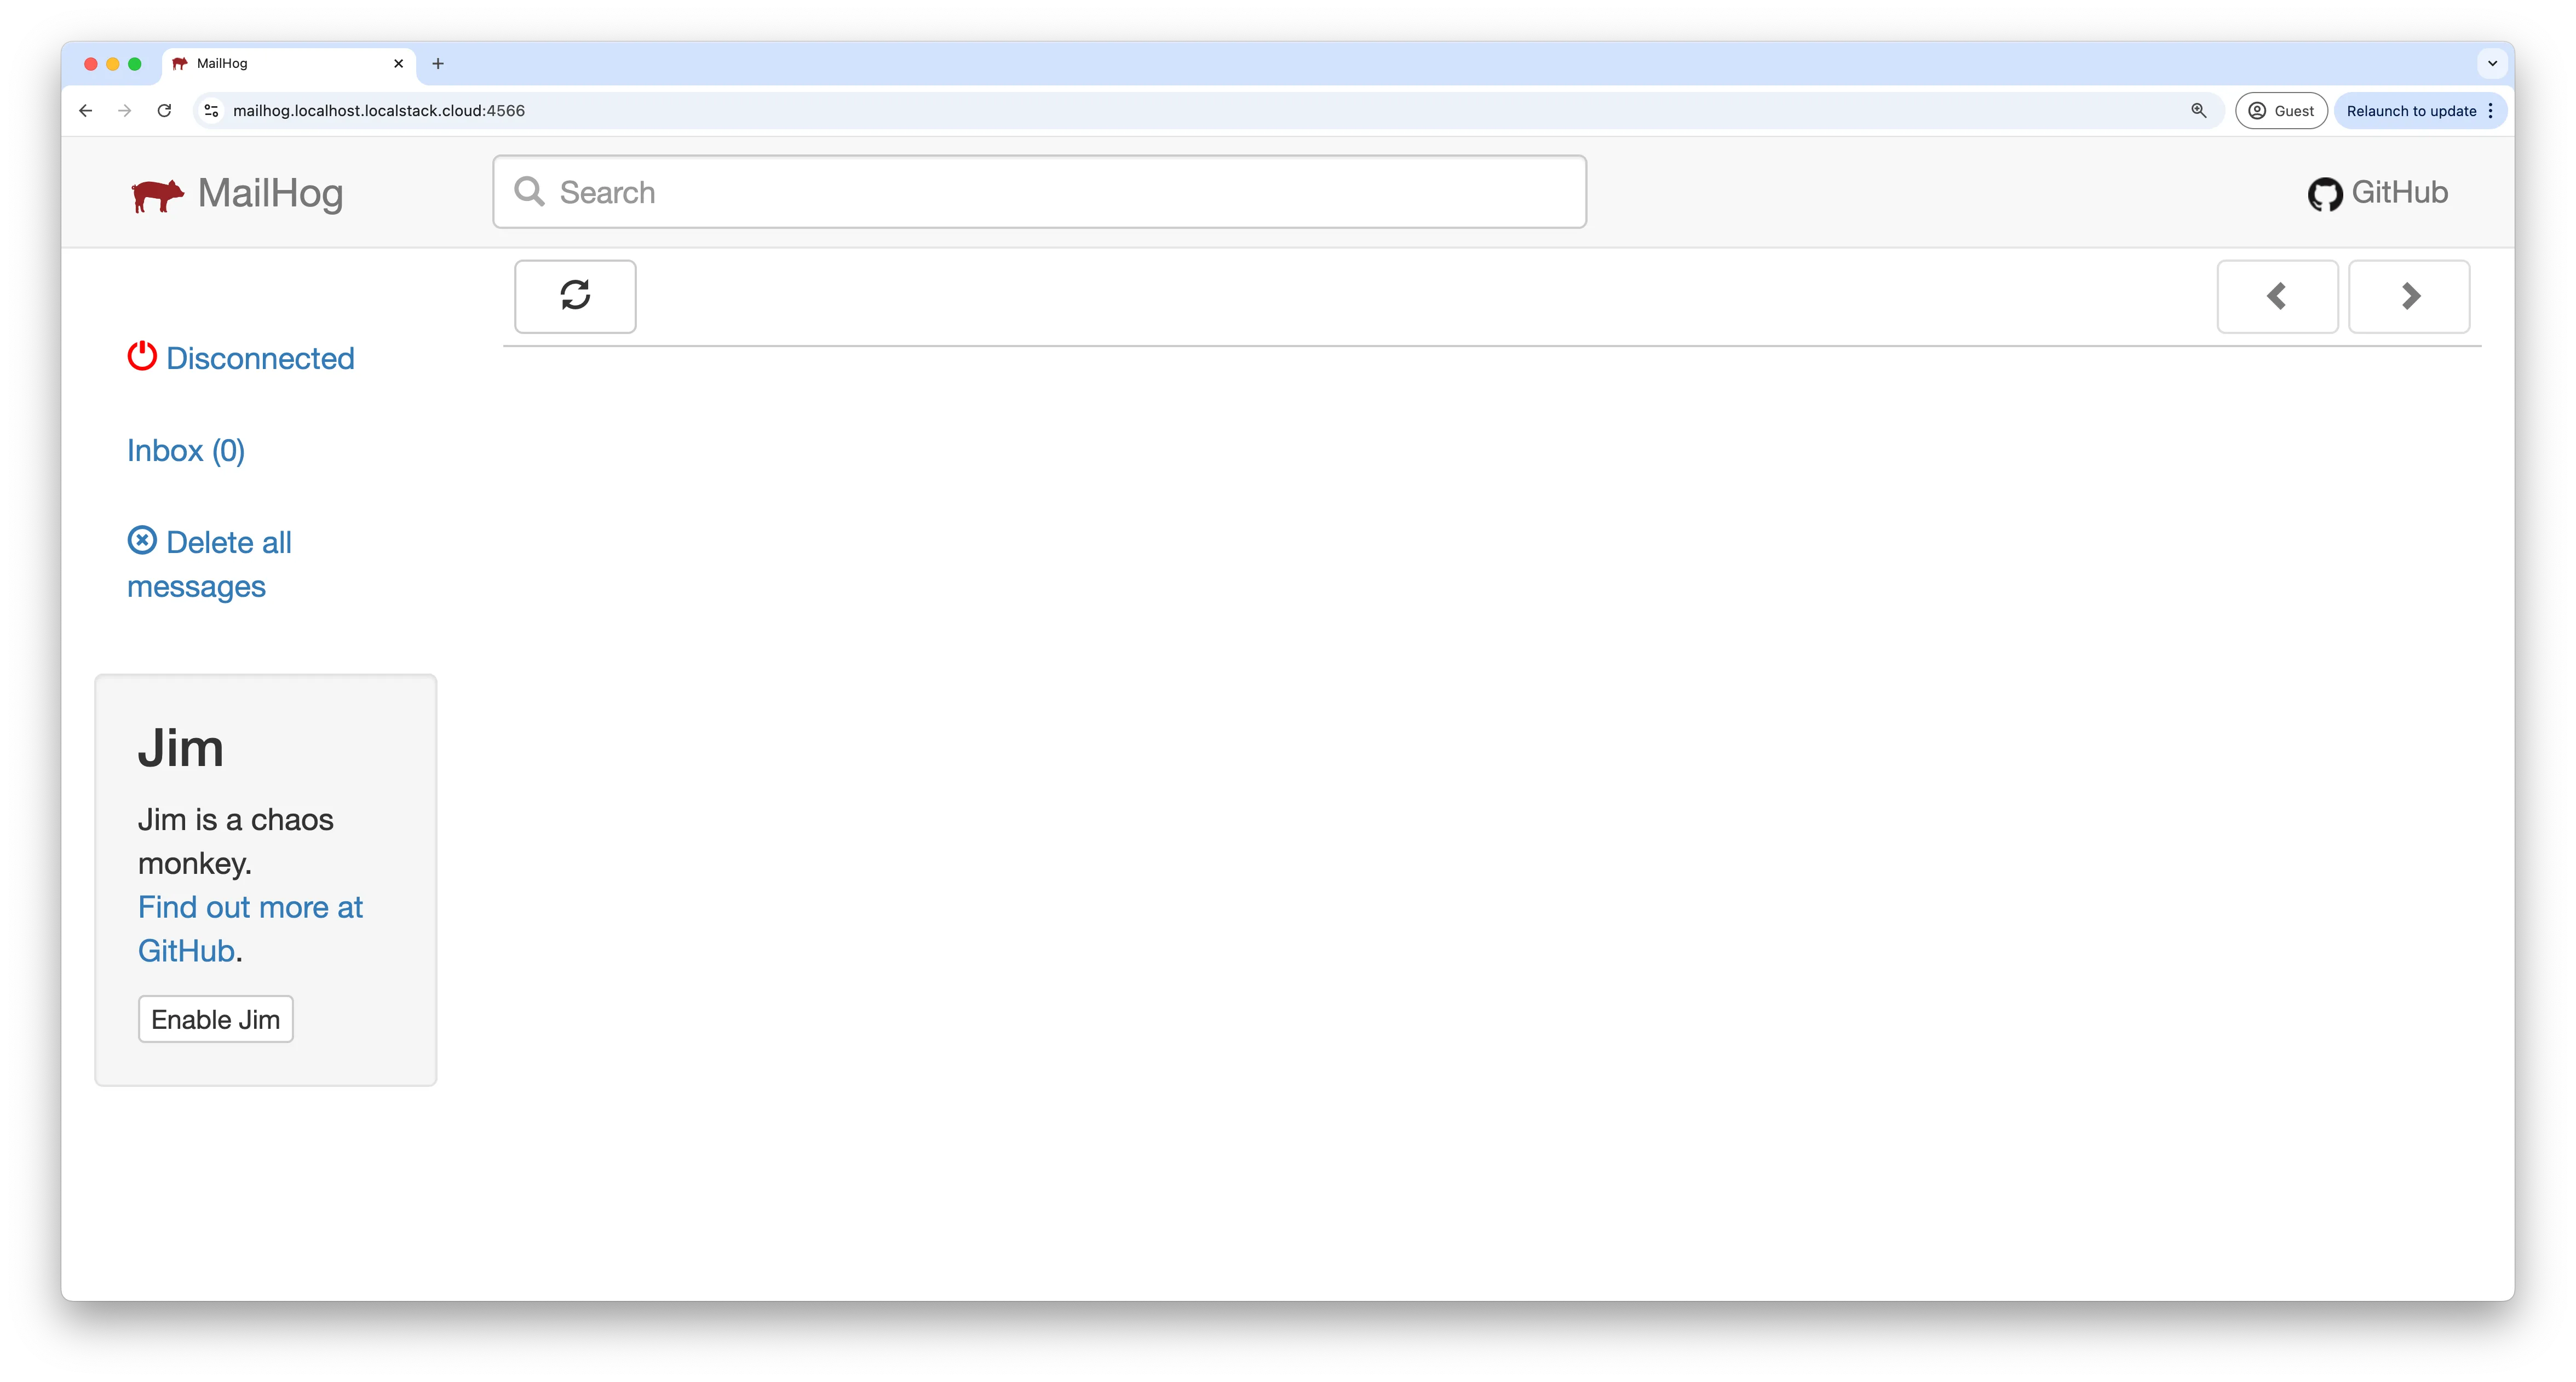
2024-10-22T06:54:18.004 INFO --- [ MainThread] l.p.c.extensions.platform : loaded 1 extensions2024-10-22T06:54:18.004 INFO --- [ MainThread] mailhog.extension : starting mailhog server2024-10-22T06:54:18.005 INFO --- [ MainThread] mailhog.extension : configuring SMTP host to internal mailhog smtp: localhost:252024-10-22T06:54:18.082 INFO --- [ady_monitor)] mailhog.extension : serving mailhog extension on host: http://mailhog.localhost.localstack.cloud:45662024-10-22T06:54:18.082 INFO --- [ady_monitor)] mailhog.extension : serving mailhog extension on path: http://localhost:4566/_extension/mailhog/Ready.To access the MailHog Web UI, click on the Open UI button or go to: http://mailhog.localhost.localstack.cloud:4566/.
Create the SSM parameters
Before creating the Lambda function, we need to store the sender and recipient email addresses securely in the SSM Parameter Store. The Lambda function will retrieve these parameters dynamically using the AWS SDK at runtime. Run the following commands to create the SSM parameters:
awslocal ssm put-parameter --name /email/recipient --value "recipient@example.com" --type Stringawslocal ssm put-parameter --name /email/sender --value "sender@example.com" --type StringTo retrieve these parameters, run:
awslocal ssm get-parameters --names /email/recipient /email/senderThe expected output will be:
{ "Parameters": [ { "Name": "/email/sender", "Type": "String", "Value": "sender@example.com", "Version": 1, "LastModifiedDate": "2024-10-22T12:31:36.345000+05:30", "ARN": "arn:aws:ssm:us-east-1:000000000000:parameter/email/sender", "DataType": "text" }, { "Name": "/email/recipient", "Type": "String", "Value": "recipient@example.com", "Version": 1, "LastModifiedDate": "2024-10-22T12:31:35.653000+05:30", "ARN": "arn:aws:ssm:us-east-1:000000000000:parameter/email/recipient", "DataType": "text" } ], "InvalidParameters": []}Create the Lambda function
First, create a new project directory and initialize it with npm:
mkdir feedback-surveycd feedback-surveynpm init -yNext, install AWS SDK v3 to interact with LocalStack’s local cloud APIs, specifically for SSM and SES:
npm install @aws-sdk/client-lambda @aws-sdk/client-ses @aws-sdk/client-ssmThe Lambda function will:
- Initialize SES and SSM clients
- Fetch sender and recipient email addresses from SSM Parameter Store
- Build the email content
- Send the email using the SES client
The implementation for this Lambda function is as follows:
const { SESClient, SendEmailCommand } = require('@aws-sdk/client-ses');const { SSMClient, GetParametersCommand } = require('@aws-sdk/client-ssm');
const ses = new SESClient({  region: 'us-east-1',});
const ssm = new SSMClient({  region: 'us-east-1',});
exports.handler = async (event) => {  const getEmailParams = {    Names: ['/email/recipient', '/email/sender'],    WithDecryption: true,  };
  let emailAddresses;  try {    const command = new GetParametersCommand(getEmailParams);    const response = await ssm.send(command);    const recipientEmail = response.Parameters.find(param => param.Name === '/email/recipient')?.Value;    const senderEmail = response.Parameters.find(param => param.Name === '/email/sender')?.Value;
    if (!recipientEmail || !senderEmail) {      throw new Error('Email addresses not found in SSM parameters');    }
    emailAddresses = { recipientEmail, senderEmail };  } catch (error) {    console.error('Error fetching emails from SSM', error);    return {      statusCode: 500,      body: JSON.stringify({ error: 'Failed to retrieve email addresses from SSM' }),    };  }
  let body;  try {    body = JSON.parse(event.body);  } catch (error) {    return {      statusCode: 400,      body: JSON.stringify({ error: 'Invalid request body' }),    };  }
  const { name, email, rating, question2, question3, question4 } = body;
  const emailContent = `    You have received new feedback:
    ${name ? `Name: ${name}\n` : ''}    ${email ? `Email: ${email}\n` : ''}    Rating: ${rating}/5    What did you like most about our service? ${question2}    What can we improve? ${question3}    Would you recommend us to others? ${question4}  `;
  const sendEmailParams = {    Destination: {      ToAddresses: [emailAddresses.recipientEmail],    },    Message: {      Body: {        Text: { Data: emailContent },      },      Subject: { Data: 'New Feedback Submission' },    },    Source: emailAddresses.senderEmail,  };
  try {    const command = new SendEmailCommand(sendEmailParams);    await ses.send(command);    return {      statusCode: 200,      body: JSON.stringify({ message: 'Feedback submitted successfully' }),    };  } catch (error) {    console.error('Error sending email', error);    return {      statusCode: 500,      body: JSON.stringify({ error: `Failed to send email: ${error.message}` }),    };  }};
To deploy this function, zip the index.js file along with its dependencies in the node_modules directory:
zip -r function.zip index.js node_modules/You can now create the Lambda function by running the following command:
awslocal lambda create-function \ --function-name feedbackFormHandler \ --runtime nodejs20.x \ --handler index.handler \ --zip-file fileb://function.zip \ --role arn:aws:iam::000000000000:role/lambda-roleSince LocalStack does not strictly enforce IAM roles and permissions, we don’t need to specify them here. However, in a production environment, you would need to set up a proper IAM role for the Lambda function to work correctly.
Once the Lambda function is created, you will receive output similar to this:
{ "FunctionName": "feedbackFormHandler", "FunctionArn": "arn:aws:lambda:us-east-1:000000000000:function:feedbackFormHandler", "Runtime": "nodejs20.x", "Role": "arn:aws:iam::000000000000:role/lambda-role", "Handler": "index.handler", ... "PackageType": "Zip", "Architectures": [ "x86_64" ], ... "LoggingConfig": { "LogFormat": "Text", "LogGroup": "/aws/lambda/feedbackFormHandler" }}You can also set up a Function URL, which allows you to invoke the Lambda function directly via HTTP(s) requests. This simplifies the process and allows you to skip using API Gateway in the early stages of development or prototyping. To set up the Function URL, run the following command:
awslocal lambda create-function-url-config \ --function-name feedbackFormHandler \ --auth-type NONEThe output will include a URL like this:
{ "FunctionUrl": "http://rmh6dxr1yqdxsd5vcoi53eem3mopsviy.lambda-url.us-east-1.localhost.localstack.cloud:4566/", "FunctionArn": "arn:aws:lambda:us-east-1:000000000000:function:feedbackFormHandler", "AuthType": "NONE", "CreationTime": "2024-10-22T07:24:13.442352+0000"}You can use this URL to trigger your Lambda function, with the URL being specific to the output you receive.
Test the Lambda function
To test the Lambda function, run the following command:
FUNCTION_URL=$(awslocal lambda get-function-url-config \  --function-name feedbackFormHandler \  --query FunctionUrl \  --output text)
curl -X POST $FUNCTION_URL \-H "Content-Type: application/json" \-d '{  "name": "John Doe",  "email": "johndoe@example.com",  "rating": 5,  "question2": "Great service!",  "question3": "Nothing much to improve",  "question4": "Yes"}'
This will result in an error:
{"error":"Failed to send email: Email address not verified sender@example.com"}The error occurs because the sender@example.com email address has not been verified by the local SES provider. To resolve this, you need to create a verified identity. You can verify an email identity using the following command:
awslocal ses verify-email-identity --email sender@example.comAfter verifying the sender email, rerun the previous test command, and you will see the output:
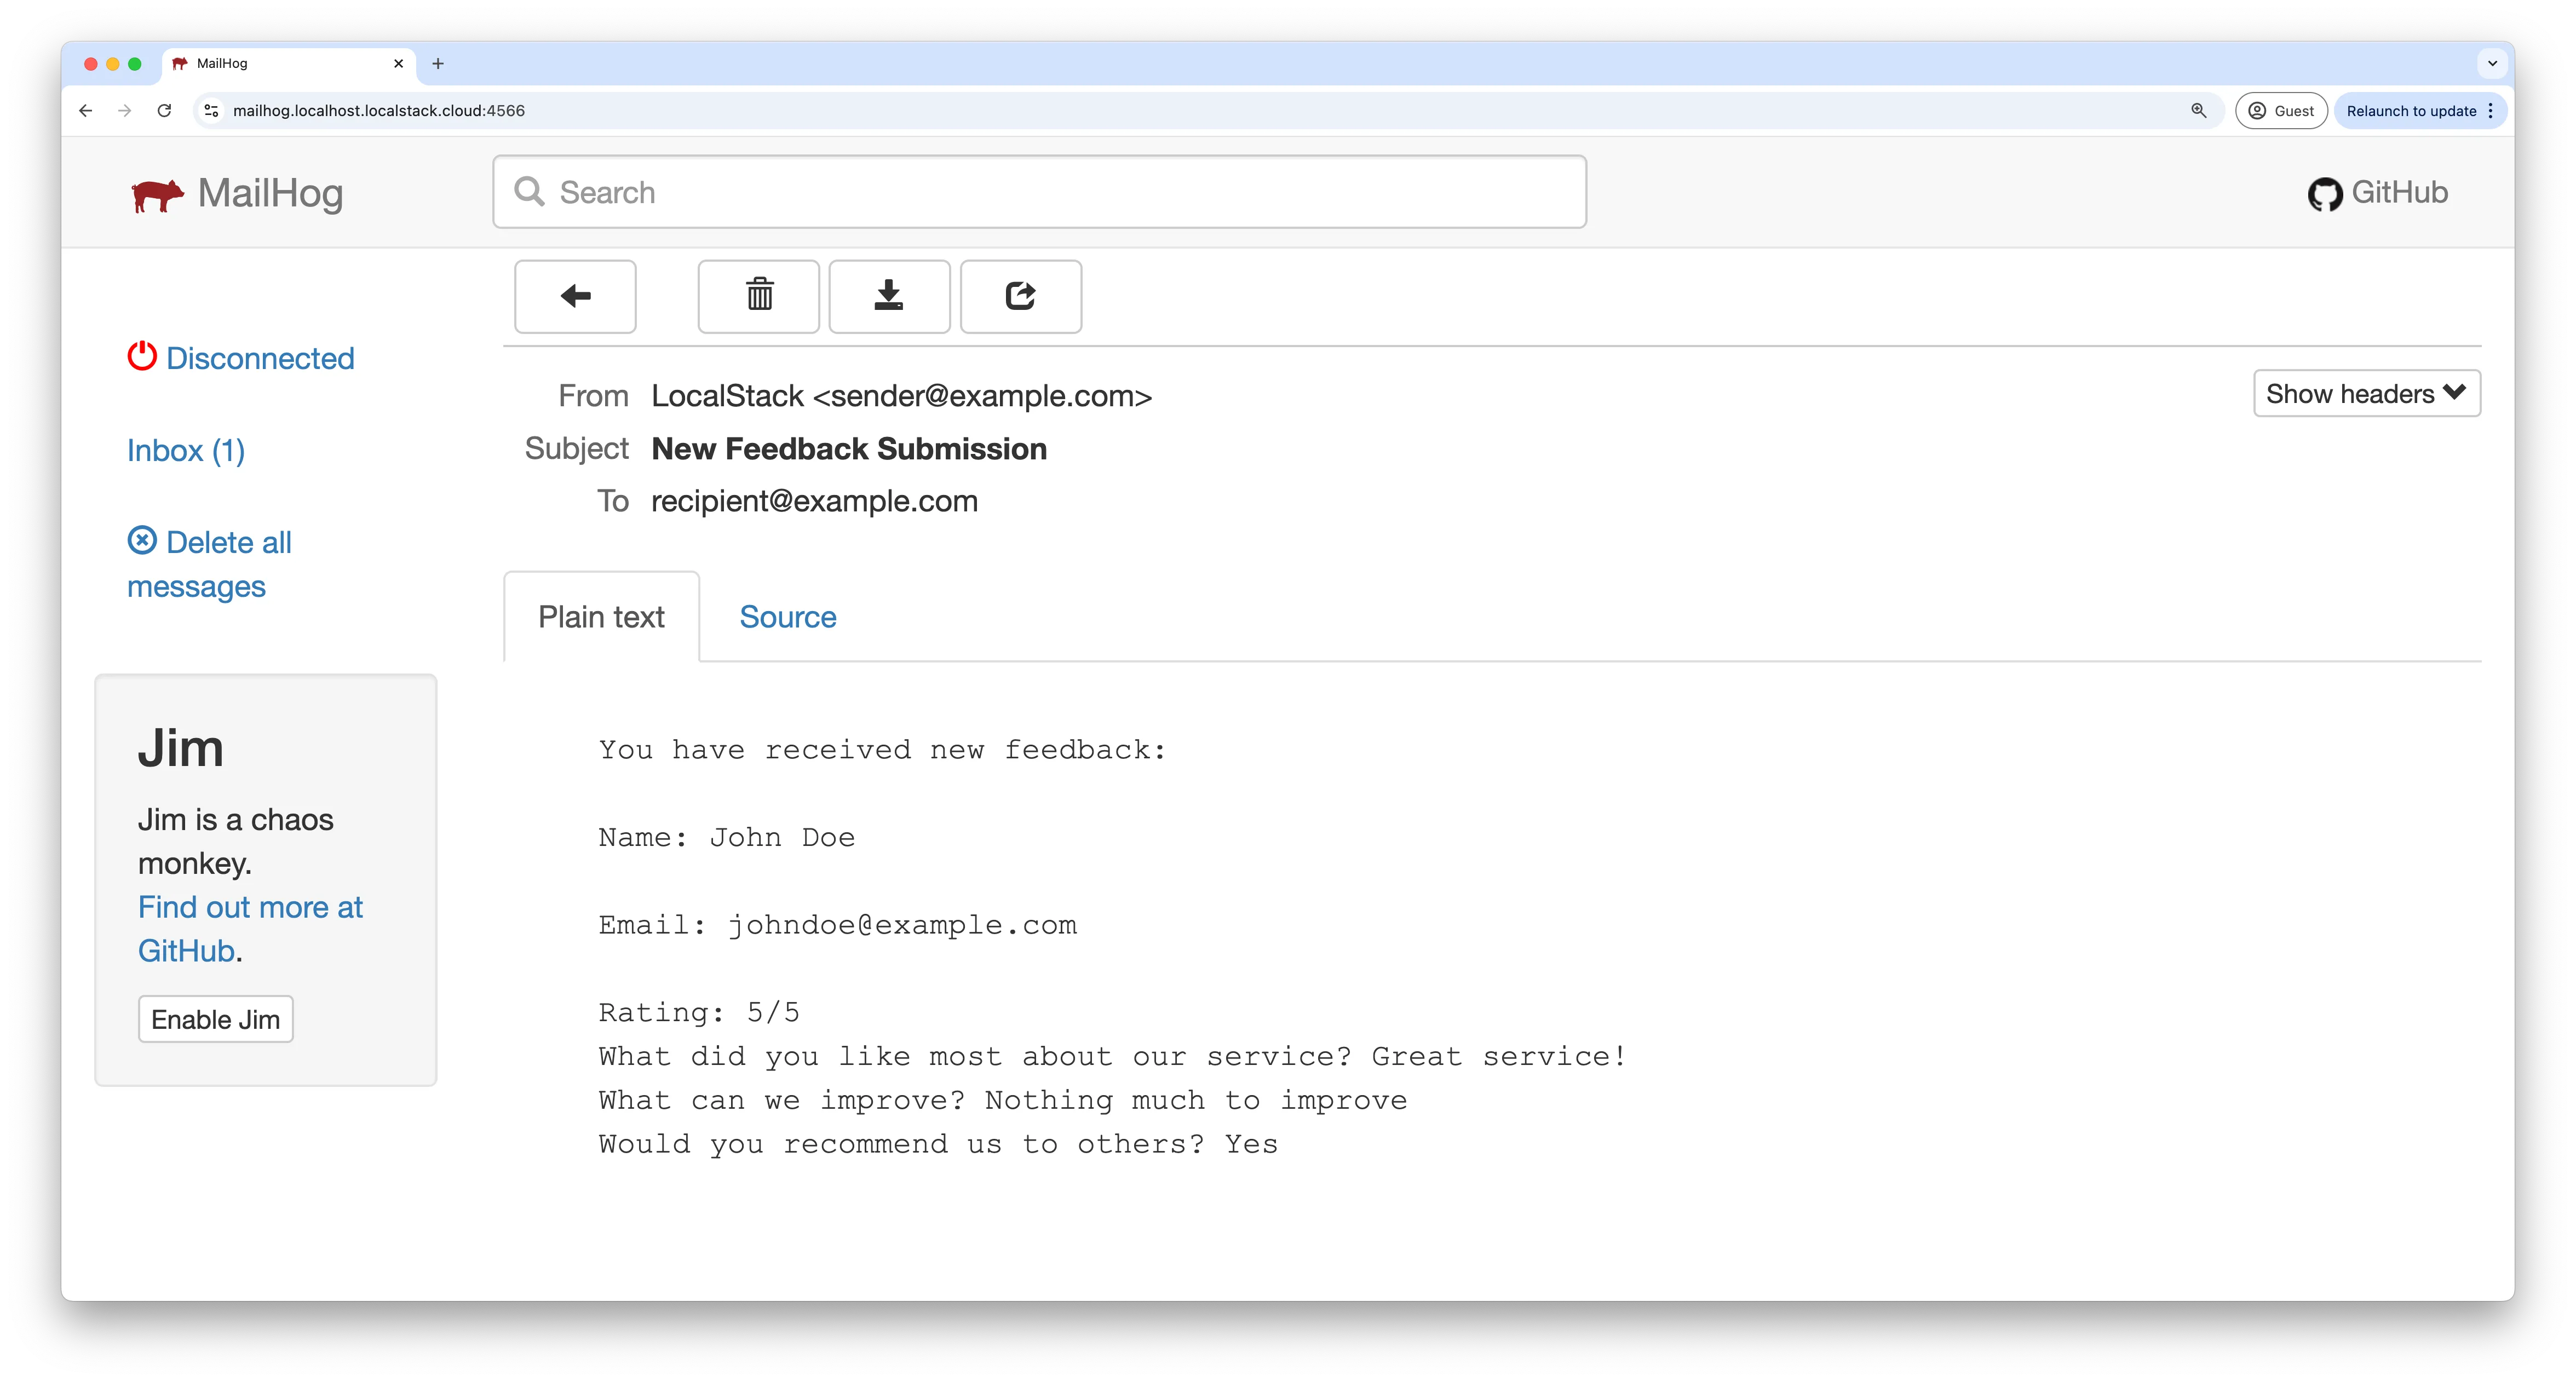
{"message":"Feedback submitted successfully"}Next, navigate to the MailHog extension user interface, where you will find an email with the subject New Feedback Submission, containing the feedback sent via the POST request.
Additionally, you can use the SES developer endpoint to list the messages sent via SES:
curl -X GET https://localhost.localstack.cloud:4566/_aws/ses | jq .The output will include the details of the message sent:
{ "messages": [ { "Id": "ynqatshgcvofrqxz-tvopcuia-sxkv-zhbk-ujdj-cewnvyxpxgxo-ddxywz", "Region": "us-east-1", "Destination": { "ToAddresses": [ "recipient@example.com" ] }, "Source": "sender@example.com", "Subject": "New Feedback Submission", "Body": { "text_part": "\n You have received new feedback:\n\n Name: John Doe\n\n Email: johndoe@example.com\n\n Rating: 5/5\n What did you like most about our service? Great service!\n What can we improve? Nothing much to improve\n Would you recommend us to others? Yes\n ", "html_part": null }, "Timestamp": "2024-10-22T08:31:51" } ]}Implement a frontend web client
Next, we’ll create a simple frontend form that collects feedback from users and submits it to the Lambda function. We’ll use Preact for building the frontend. If you don’t have Preact set up, create a new Preact app by running:
npx preact-cli create default feedback-survey-frontendcd feedback-survey-frontendWe will use Bootstrap for the UI components, so you can install it via npm:
npm install bootstrapIn the entry file for the frontend, which is index.js, import Bootstrap’s CSS:
import 'bootstrap/dist/css/bootstrap.min.css';Now, create a file named FeedbackForm.js inside the src/components directory and add the following code:
import { useState } from 'preact/hooks';
const FeedbackForm = () => {  const [formData, setFormData] = useState({ name: '', email: '', rating: 0, question2: '', question3: '', question4: '' });  const [isSubmitting, setIsSubmitting] = useState(false);  const [submissionSuccess, setSubmissionSuccess] = useState(false);  const [errorMessage, setErrorMessage] = useState('');
  const lambdaUrl = process.env.PREACT_APP_LAMBDA_URL;
  const handleChange = (e) => setFormData({ ...formData, [e.target.name]: e.target.value });  const handleStarClick = (rating) => setFormData({ ...formData, rating });
  const handleSubmit = async (e) => {    e.preventDefault();    setIsSubmitting(true);    setErrorMessage('');
    try {      const response = await fetch(lambdaUrl, {        method: 'POST',        headers: { 'Content-Type': 'application/json' },        body: JSON.stringify(formData),      });
      if (response.ok) {        setSubmissionSuccess(true);        setFormData({ name: '', email: '', rating: 0, question2: '', question3: '', question4: '' });      } else {        setErrorMessage((await response.json()).error || 'Failed to submit feedback.');      }    } catch (error) {      setErrorMessage('An error occurred while submitting feedback.');    } finally {      setIsSubmitting(false);    }  };
  if (submissionSuccess) {    return (      <div className="container py-5">        <div className="card shadow-sm border-0 text-center p-5">          <h3>Thank You!</h3>          <p>Your feedback has been submitted successfully.</p>        </div>      </div>    );  }
  return (    <div className="container py-5">      <div className="card shadow-sm border-0 p-4 p-md-5">        <h2 className="text-center mb-4">Share Your Feedback</h2>        <p className="text-muted text-center mb-4">Help us improve our services by providing your feedback.</p>
        {errorMessage && <div className="alert alert-danger">{errorMessage}</div>}
        <form onSubmit={handleSubmit}>          {['name', 'email'].map((field) => (            <div className="mb-4" key={field}>              <label htmlFor={field} className="form-label">{`${field.charAt(0).toUpperCase() + field.slice(1)} (optional)`}</label>              <input                type={field === 'email' ? 'email' : 'text'}                className="form-control"                id={field}                name={field}                value={formData[field]}                onChange={handleChange}                placeholder={`Enter your ${field}`}              />            </div>          ))}
          <div className="mb-4">            <label className="form-label d-block">Rating</label>            <div className="star-rating">              {[1, 2, 3, 4, 5].map((star) => (                <span                  key={star}                  className={`star ${star <= formData.rating ? 'selected' : ''}`}                  onClick={() => handleStarClick(star)}                  role="button"                  aria-label={`${star} stars`}                >                  ★                </span>              ))}            </div>          </div>
          {['question2', 'question3'].map((q, i) => (            <div className="mb-4" key={q}>              <label htmlFor={q} className="form-label">                {i === 0 ? 'What did you like most about our service?' : 'What can we improve?'}              </label>              <textarea                className="form-control"                id={q}                name={q}                value={formData[q]}                onChange={handleChange}                rows="3"                placeholder={i === 0 ? 'Tell us what you liked' : 'Share your suggestions'}              />            </div>          ))}
          <div className="mb-4">            <label htmlFor="question4" className="form-label">Would you recommend us to others?</label>            <select className="form-select" id="question4" name="question4" value={formData.question4} onChange={handleChange} required>              <option value="" disabled>Select an option</option>              {['Yes', 'No', 'Maybe'].map((opt) => (                <option key={opt} value={opt}>{opt}</option>              ))}            </select>          </div>
          <button type="submit" className="btn btn-primary w-100" disabled={isSubmitting}>            {isSubmitting ? 'Submitting...' : 'Submit Feedback'}          </button>        </form>      </div>    </div>  );};
export default FeedbackForm;
This component captures feedback from the user and submits it to the Lambda function URL, which will be set through an environment variable.
Next, navigate to index.css in the styles directory and add the following styling to enhance the form appearance:
.star-rating {  display: flex;  gap: 0.5rem;  font-size: 2rem;  padding: 0.5rem 0;}
.star-rating .star {  color: #dee2e6;  transition: color 0.2s ease-in-out;  cursor: pointer;  user-select: none;}
.star-rating .star.selected {  color: #ffc107;}
.star-rating .star:hover {  color: #ffc107;}
.form-control:focus,.form-select:focus {  border-color: #86b7fe;  box-shadow: 0 0 0 0.25rem rgba(13, 110, 253, 0.25);}
.card {  transition: box-shadow 0.3s ease-in-out;}
.card:hover {  box-shadow: 0 0.5rem 1rem rgba(0, 0, 0, 0.15) !important;}
Finally, update the components/app.js file to include the FeedbackForm component:
import FeedbackForm from './FeedbackForm';
const App = () => (  <>    <FeedbackForm />  </>);
export default App;
Build & serve the frontend web client
Before building the web client, you need to create a .env file that contains the PREACT_APP_LAMBDA_URL variable, which points to your Lambda Function URL. To automate this process, you can use a shell script that fetches the Lambda function URL and adds it to the .env file.
Create a file named fetchLambdaURL.sh and add the following code:
#!/bin/bash
functionUrl=$(awslocal lambda get-function-url-config --function-name feedbackFormHandler --query FunctionUrl --output text)
# Check if the function URL was fetched successfullyif [ $? -eq 0 ]; then  # Write the function URL to the .env file  echo "PREACT_APP_LAMBDA_URL=${functionUrl}" > .env  echo "Lambda Function URL fetched and stored in .env file."else  echo "Error fetching Lambda Function URL."  exit 1fi
Make the script executable by running:
chmod +x fetchLambdaURL.shTo automate this script during the build process, add the script execution as a prebuild command in your package.json file:
{ ... "scripts": { "prebuild": "./fetchLambdaURL.sh", ... } ...}Once the script is set up, you can build the client by running:
npm run buildYou can configure a static website using S3 to serve your feedback survey by running the following commands:
awslocal s3 mb s3://webappawslocal s3 sync --delete ./build s3://webappawslocal s3 website s3://webapp --index-document index.html --error-document index.htmlAfter setting up the S3 website, you can navigate to the following link to submit your feedback and check the delivered email via SES on the MailHog extension UI: http://webapp.s3-website.localhost.localstack.cloud:4566/.
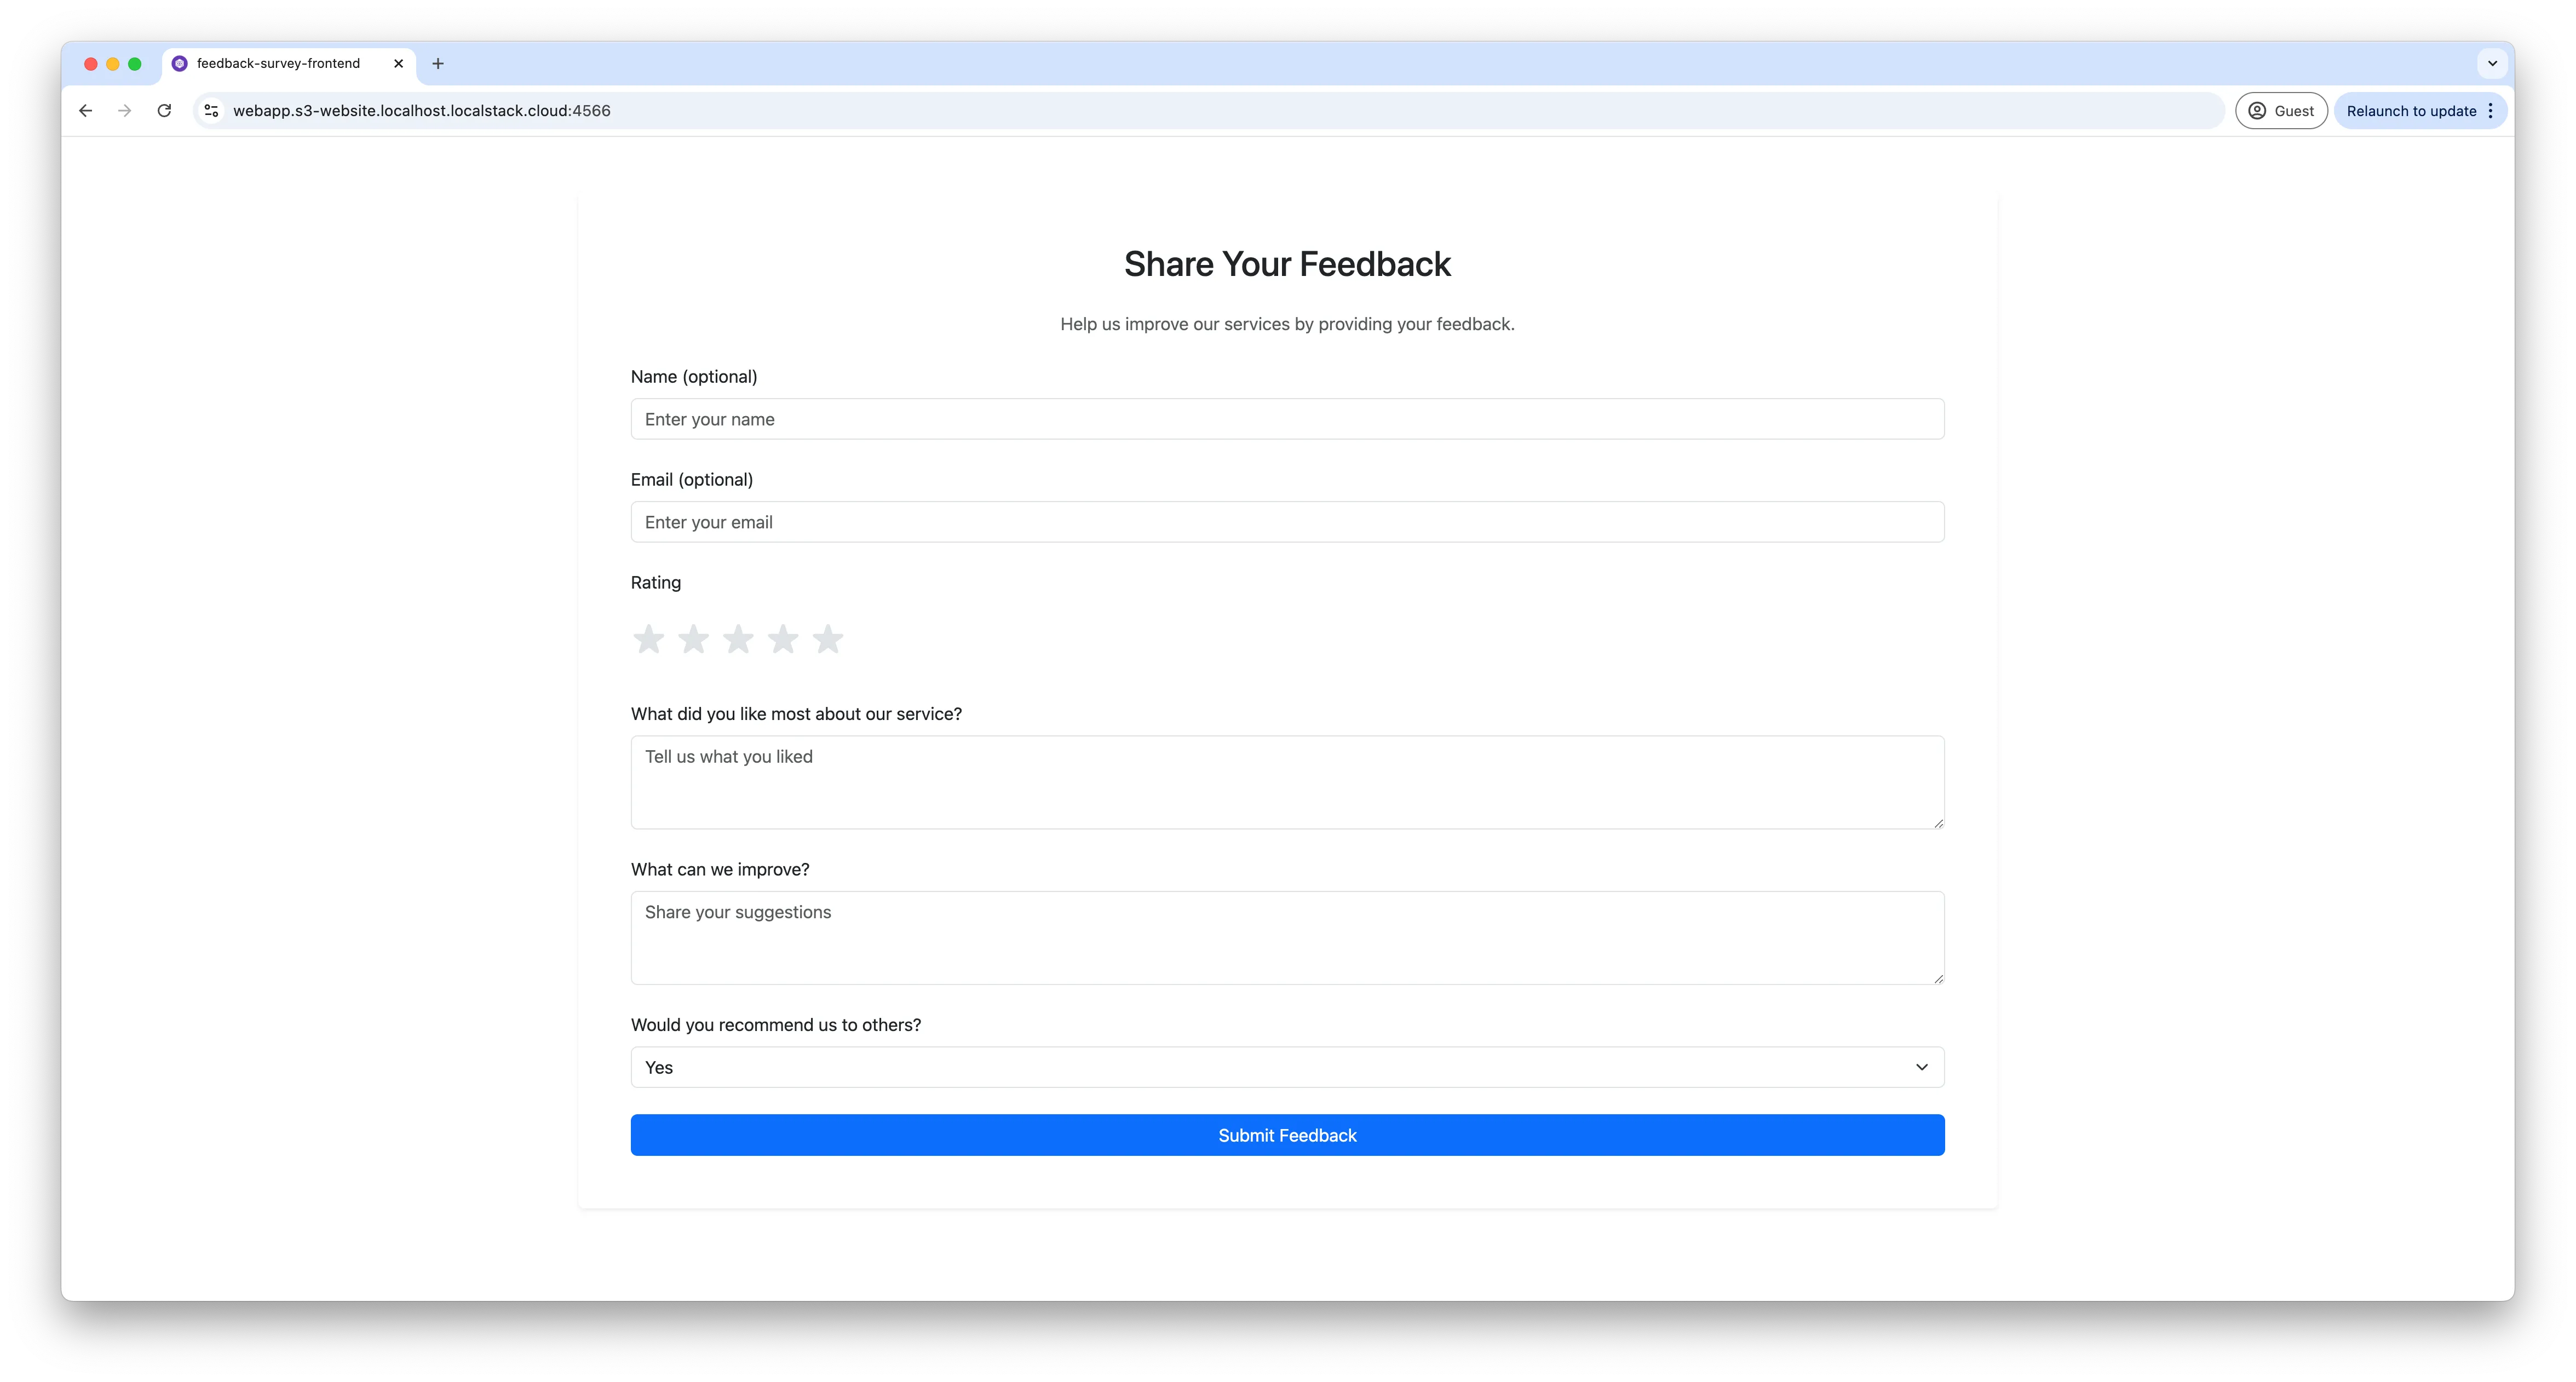
You can submit a response and then navigate to the MailHog extension to view the received email.
Write Unit Tests with Jest
As the last step, you can write a Jest test that verifies the email delivery process automatically. Install the following dependencies to get started:
npm install axios jestCreate a test file lambda.test.js and add the following code:
const { LambdaClient, GetFunctionUrlConfigCommand } = require('@aws-sdk/client-lambda');const axios = require('axios');
const lambdaClient = new LambdaClient({  endpoint: 'http://localhost.localstack.cloud:4566',  region: 'us-east-1',  credentials: { accessKeyId: 'test', secretAccessKey: 'test' },});
describe('Lambda Function Email Delivery via LocalStack', () => {  let lambdaUrl;
  beforeAll(async () => {    const command = new GetFunctionUrlConfigCommand({ FunctionName: 'feedbackFormHandler' });    const response = await lambdaClient.send(command);    lambdaUrl = response.FunctionUrl;  });
  test('should send an email using LocalStack SES and Lambda function URL', async () => {    const payload = {      name: 'John Doe',      email: 'johndoe@example.com',      rating: 5,      question2: 'Great service!',      question3: 'Nothing much to improve',      question4: 'Yes',    };
    const response = await axios.post(lambdaUrl, payload, {      headers: {        'Content-Type': 'application/json',      },    });
    expect(response.status).toBe(200);    expect(response.data.message).toBe('Feedback submitted successfully');
    const sesMessagesResponse = await axios.get('http://localhost.localstack.cloud:4566/_aws/ses');
    const sesMessages = sesMessagesResponse.data.messages;
    const latestMessage = sesMessages.find((message) => {      return message.Body.text_part.includes('John Doe') &&        message.Body.text_part.includes('Great service!') &&        message.Body.text_part.includes('Nothing much to improve') &&        message.Body.text_part.includes('Yes');    });
    expect(latestMessage).toBeDefined();    expect(latestMessage.Body.text_part).toContain('John Doe');    expect(latestMessage.Body.text_part).toContain('Great service!');    expect(latestMessage.Body.text_part).toContain('Nothing much to improve');    expect(latestMessage.Body.text_part).toContain('Yes');  });});
To run the tests, add the following script to your package.json:
{ "scripts": { "test": "jest" }}Now run the test with:
npm run testYou will see the following output:
 PASS  ./lambda.test.js  Lambda Function Email Delivery via LocalStack    ✓ should send an email using LocalStack SES and Lambda function URL (3078 ms)
Test Suites: 1 passed, 1 totalTests:       1 passed, 1 totalSnapshots:   0 totalTime:        3.607 sRan all test suites.
Conclusion
With LocalStack, you can perform end-to-end testing of your SES workflows and other AWS services without deploying to the cloud. You can also test these workflows in conjunction with other AWS services, as shown in the example above. LocalStack’s support for SES and SES v2 is extensive, allowing you to test various workflows without the need for simulators or mock tools. Additionally, you can use the SES Resource Browser on the Web Application to create email identities, send emails, and review them, providing more comprehensive insights into your SES workflows.
You can find the complete source code for this tutorial on GitHub.